
Cat ear mites can cause intense itching and dark debris, and a veterinarian can confirm the cause and guide safe treatment. What if those dark crumbs come from something other than mites? Persistent scratching, head shaking, or debris can point to a problem, but several ear conditions can look alike. With a careful exam, your veterinarian can choose a treatment that suits your cat. You can also take practical steps to ease discomfort without adding an unapproved product. Feline otitis externa means inflammation of the external ear canal, and it has several possible causes.
Keep track of changes you notice, such as new scratching or a shift in the ear’s appearance. That information can help your veterinarian decide how soon to see your cat. Avoid probing or cleaning deep inside the canal while you wait. Keep your cat comfortable by resisting the urge to put a home remedy or unapproved product into the ear.
How Do Ear Mites Compare With Earwax?
Dark, crumbly material that resembles coffee grounds can be a clue, but it does not prove that mites are present. The look alone cannot tell you whether the cause is mites, normal wax, or another ear problem. Color and texture cannot reliably distinguish ear mites from wax or infection.
Mites are tiny. Adult Otodectes cynotis measure about 0.3-0.5 mm long, so you usually cannot identify them without magnification. Debris linked with mites may look dry, dark, and crumbly, while ordinary earwax can also appear brown or dark.
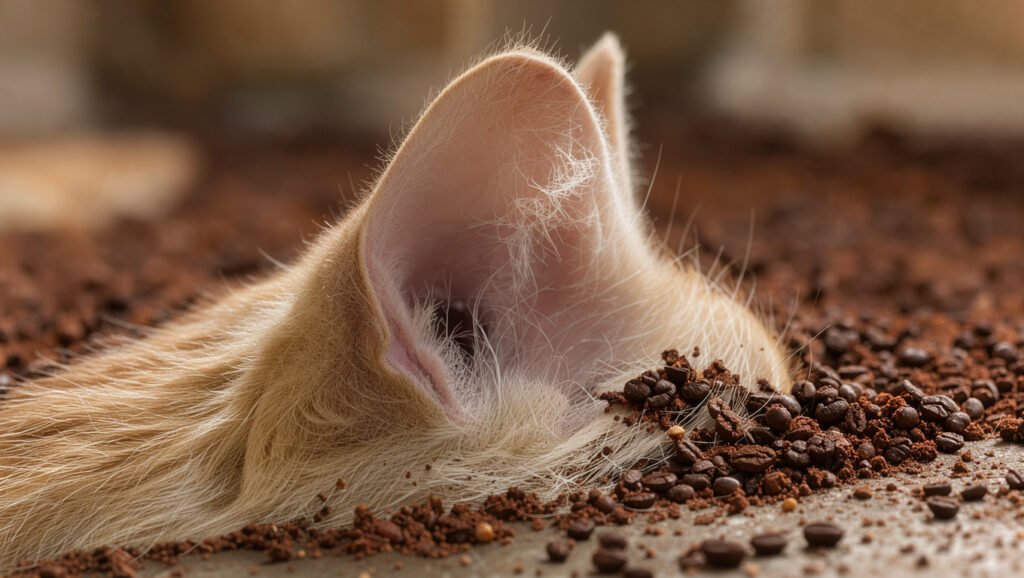
Yeast or bacterial problems can also cause buildup that looks similar. The amount and shade may change, but neither feature settles the cause. A cat ear mites vs wax comparison based only on a photo or a quick look can lead you astray.
Do not start ear drops based on debris color or texture alone.
Wax is part of the ear’s normal defenses, but heavy buildup or a new change deserves attention. Keep a note of when you first saw the debris and whether it is getting worse. Treat a change in debris as a reason to arrange an examination, not as a reason to start drops on your own.
How Cats Pick Up Ear Mites
An indoor cat can pick up ear mites through close contact with an infested animal. Direct contact is the main way these parasites spread, so a cat does not need outdoor access to be exposed. Close physical contact with an infested animal is the usual route of transmission.
Ear mites, or Otodectes cynotis, live on the skin and in the ear canals. They feed on skin debris, oils, and wax. Cats may acquire them from another cat or a susceptible animal they meet during a visit, introduction, or stay away from home.

House cats can still meet an affected animal at home. A new pet, a visiting animal, or close contact during boarding can create an exposure, even when your cat stays indoors. The CAPC parasite guidelines cover the mite’s life cycle and control.
The full life cycle takes about 3 weeks from egg to adult. That timing helps explain why treatment directions and any planned follow-up matter. Mites can keep developing while early signs seem to ease, so the treatment schedule should come from your veterinarian.
A cat’s indoor lifestyle may lower its chances of exposure, but it does not eliminate them.
Cat Ear Mites: Symptoms and Signs
Repeated scratching and head shaking are common signs, especially when they occur alongside dark debris. Look at the whole picture, since no single sign proves that mites caused the problem. Feline otitis externa means inflammation of the external ear canal, and mites are only one possible cause.
- Frequent scratching at one or both ears
- Repeated head shaking
- Redness or swelling around the ear
- Dark, crumbly debris inside the outer ear
- An unusual odor from the ear
- Hair loss, scabs, or wounds around the ears and neck
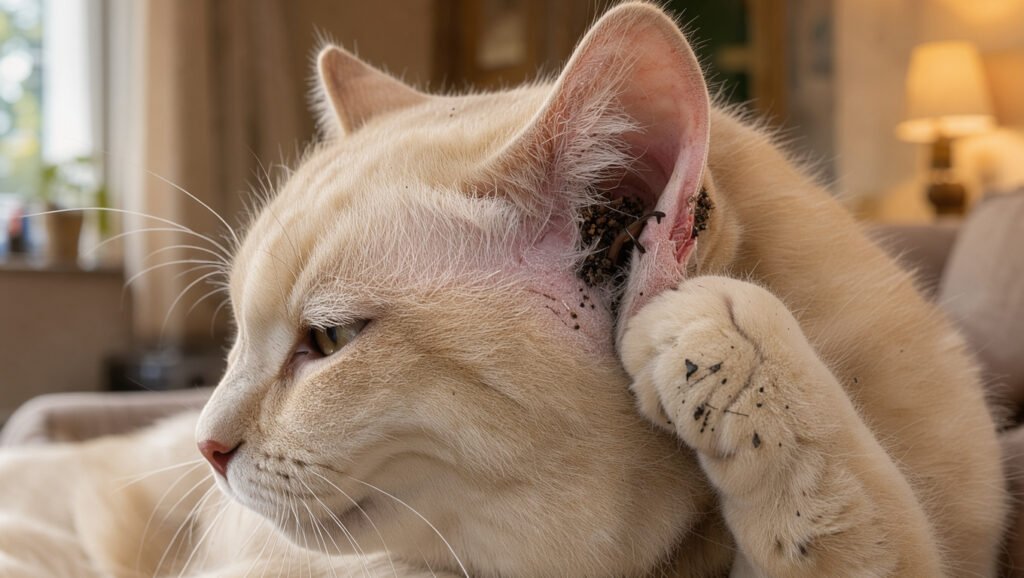
Allergies, yeast, bacteria, and other problems can cause feline otitis externa. A pattern that seems to match cat ear mite symptoms still needs an exam to identify the cause. An odor or red skin may point to inflammation, but it cannot tell you which condition is present.
Vigorous scratching or head shaking can injure the ear flap. An aural hematoma is a blood-filled swelling in that flap, and it needs veterinary care. The MSD Veterinary Manual’s guide to feline mite infestations describes common signs and possible complications.
Arrange prompt care for swelling, open wounds, marked pain, or symptoms that are getting worse. A swollen ear flap or open sores need veterinary attention rather than home treatment.
How a Veterinarian Confirms the Diagnosis
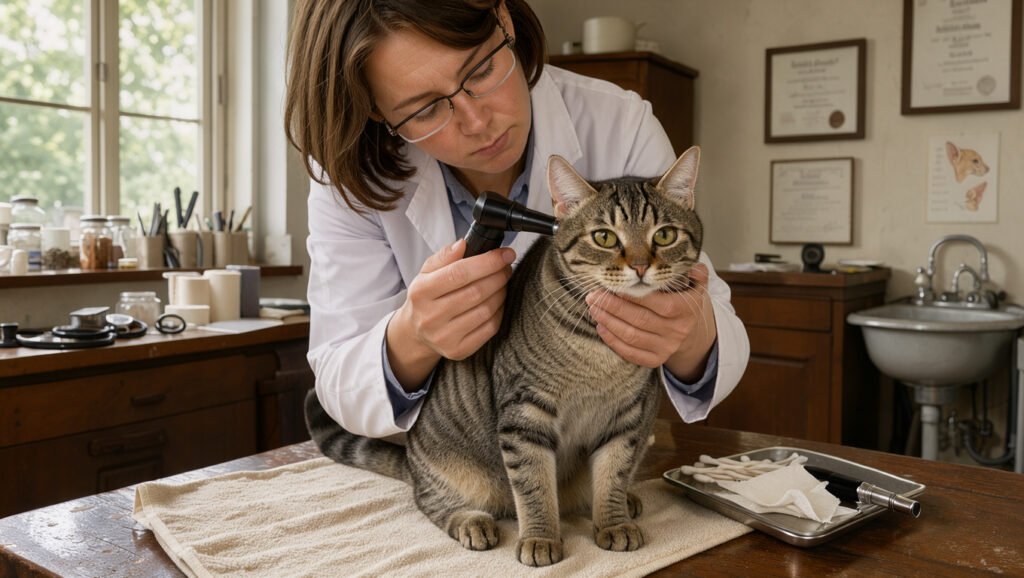
A veterinarian can check the ear canal with an otoscope and examine a sample of debris under a microscope. Both checks matter, because dark buildup and scratching can have several causes. A symptom pattern alone cannot confirm ear mites.
The exam helps your veterinarian see whether the canal looks irritated and whether debris or swelling blocks the view. Your cat’s comfort also matters during the check. Tell the clinic if your cat reacts strongly when anyone touches an ear.
What an otoscope can reveal
An otoscope lets the veterinarian look into the ear canal and check the eardrum. That view can help reveal irritation, debris, or other changes that affect the next step. The veterinarian checks the eardrum before cleaning or treatment because some products or cleaning methods may be unsafe if it is damaged.
A clear view may be hard to get if the canal is sore or full of debris. Your veterinarian can decide whether a closer exam or careful cleaning is needed. Do not try to get a better view by pushing anything into the canal yourself.
Why an ear swab is examined under a microscope
For ear swab microscopy, the veterinarian collects a small sample of debris and checks it under a microscope. The sample can reveal mites and may show signs of yeast or bacteria. Those findings matter because different causes can call for different treatment.
The Merck Veterinary Manual explains that feline otitis externa can stem from causes besides mites. A veterinary overview of feline otitis externa also describes exam and testing methods. Mention any products already put in your cat’s ears so the veterinarian can interpret the examination accurately.
Treat Ear Mites With Veterinary Medication
The safest way to treat confirmed ear mites is to use a cat-appropriate acaricide chosen with your veterinarian. Acaricide means a medicine that kills mites. Do not improvise a medication choice or dose.
The best treatment depends on your cat’s age, weight, health, and the product’s directions. Selamectin and moxidectin are examples of medicines used in some veterinary mite-treatment protocols. A cat ear mite treatment plan may use drops, or it may use another form of parasite medicine.

Choose a cat-safe acaricide with your veterinarian
Your veterinarian will match the medicine to your cat and the diagnosis. Cat ear mite drops are one option, but they are not the only form of treatment. Some protocols use parasite medication applied elsewhere on the body.
Products meant for dogs or people may not be safe for cats. Treatment for kittens also needs extra care because age and weight affect which products are suitable. Ask the veterinarian to confirm that the product is approved for your kitten’s age and size.
Follow the product’s dosing directions
Use the exact dose and schedule on the product label or in your veterinarian’s instructions. Do not add doses, stop early, or combine medicines unless your veterinarian tells you to. Directions can differ between products, even when both treat mites.
Acaricide treatment may include one application or a longer schedule. The treatment plan can also include a recheck. Follow-up helps your veterinarian see whether the mites and any other ear problem have cleared.
Treat exposed household pets as directed
Tell your veterinarian which animals share close contact with your cat. The veterinarian can decide which pets need treatment and whether to coordinate their schedules. Do not give one pet’s medicine to another.
- Have a veterinarian confirm the cause of the ear problem.
- Use a cat-safe acaricide recommended for that animal.
- Follow the exact product directions for each dose.
- Complete any follow-up your veterinarian advises.
Check the label and your veterinarian’s instructions before every dose, especially when treating a kitten.
How to Clean Your Cat’s Ears at Home
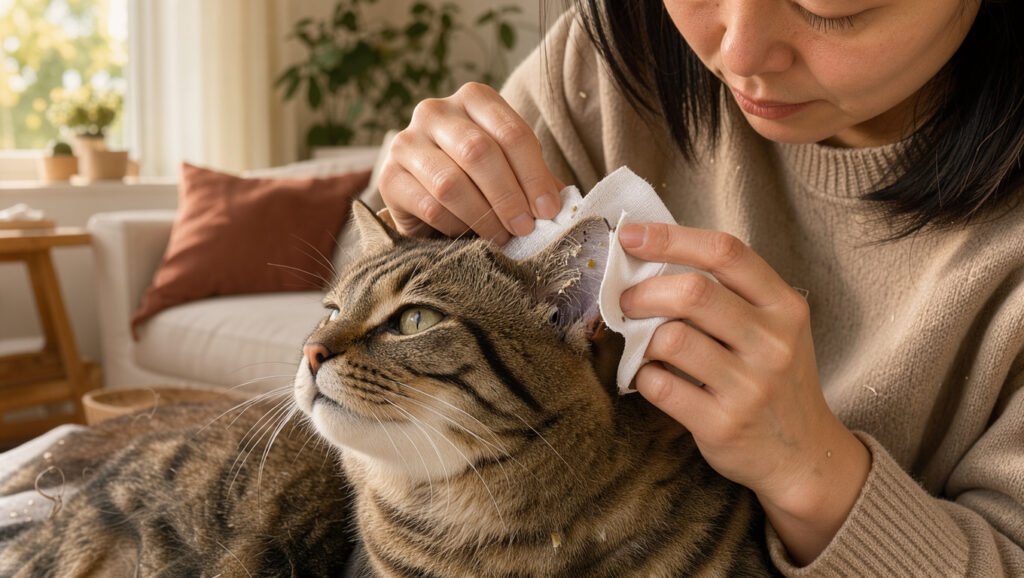
At-home cleaning should reach only visible debris, and only when your veterinarian has said it is appropriate. Gentle wiping can remove dirt from the outer ear, but it cannot treat mites by itself. Never insert a cotton swab or tool into the ear canal.
If your veterinarian says cleaning is safe, gather a soft piece of gauze or a cotton pad first. Keep the session brief and stop if your cat becomes upset. You can learn more about basic cat grooming at home, including gentle care of visible ear dirt.
Clean only what you can see
Wipe the visible outer ear with soft gauze or a cotton pad. Use a light touch, and do not reach down into the canal. A cotton swab can push debris farther in or injure the ear.
Do not try to remove material you cannot see clearly. The canal bends, and a tool can hurt the delicate skin. If buildup seems deep or firmly stuck, let your veterinarian decide how to remove it.
Use ear cleaner only as directed
Use a cleaner made for cats only when your veterinarian or the product label directs you to do so. Follow the stated amount and method. If the eardrum may be damaged, cleaning should stop until the veterinarian checks the ear.
Cleaning supports the treatment plan, but it does not kill mites on its own. A painful ear also needs a veterinarian’s care rather than a home cleaning attempt. Stop if your cat resists with pain, and ask the veterinarian to handle a difficult or painful cleaning.
Protect Other Pets From Reinfection
Treating only one cat can leave a route for mites to pass between animals and bring the problem back. Shared contact matters because ear mites can affect cats, dogs, ferrets, and rabbits. Ask about every animal that has close contact with the affected pet.
Each species may need a different medicine. A product used for one animal may not suit another, so do not share doses or assume the same plan works for every pet.

Coordinate treatment for animals in contact
Your veterinarian can advise whether in-contact pets need exams or treatment at the same time. Coordinated care can help reduce the chance of mites returning to a treated animal. Other species may need their own veterinarian-approved plan.
When you bring a new kitten home, gradual introductions can help protect resident pets and reduce stress. A kitten care checklist can help you plan the first days and introductions.
Clean shared bedding and resting areas
Use this checklist while your pets follow their veterinary plan:
- Ask your veterinarian about every pet that had close contact.
- Coordinate treatment for those animals when directed.
- Launder bedding that pets share.
- Clean the resting areas your pets use often.
- Check which parasites a flea prevention product covers.
Flea prevention does not automatically protect against ear mites. Check the product’s parasite list rather than assuming it covers every mite. Ask your veterinarian which pets need treatment before assuming a product for one animal is suitable for another.
What Kills Ear Mites in Cats Instantly?
No home remedy or ear drop can be promised to eliminate cat ear mites instantly and safely. Fast relief is not the same as clearing an infestation. A veterinarian-selected acaricide treats mites, but the full plan and follow-up still matter.
Essential oils and household products can irritate or harm a cat’s ear. Do not put vinegar, alcohol, hydrogen peroxide, or human ear products into the canal. A product that is natural or common in people is not automatically safe for cats.

Peroxide and vinegar may irritate an inflamed ear canal, and added irritation can make a sore ear harder to manage. Human products may also contain ingredients or strengths that are not meant for cats. Avoid recipes that call for oils or other household liquids.
Do not use a leftover medicine from another pet or an earlier problem. The cause of the current irritation may differ, and the old product may not be safe now. If you have already used a household product, tell your veterinarian exactly what it was and when you applied it.
What to Expect During Recovery
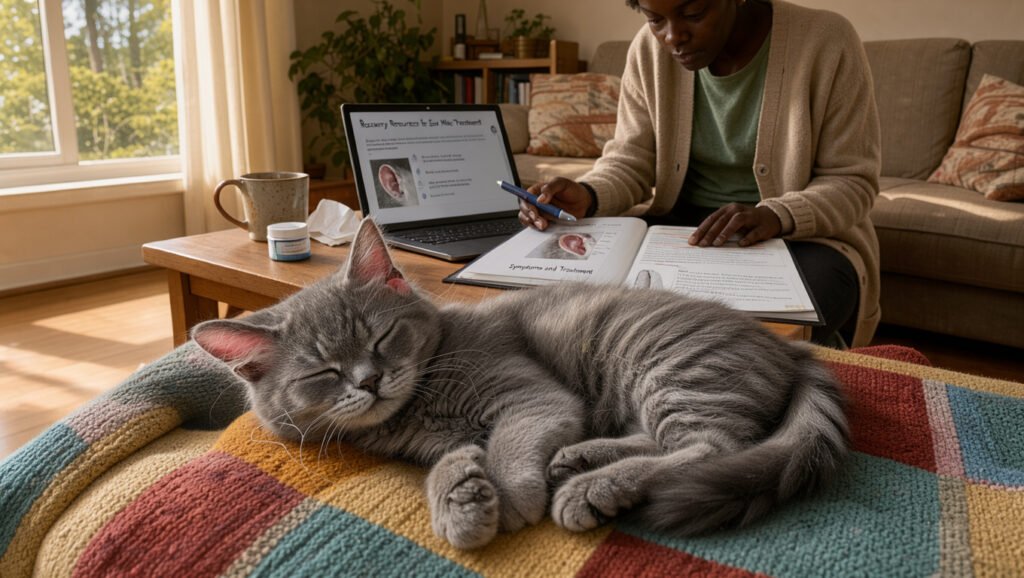
Your cat may seem more comfortable before the treatment plan is finished, so follow the full directions. Less scratching does not prove that every mite has gone. Do not stop treatment early because the ears look better.
The mite life cycle takes about 3 weeks from egg to adult. Treatment schedules differ by product, and some veterinary treatments use one application while others need repeat dosing. Your veterinarian may also recommend a recheck.
Treatment considerations for kittens
A veterinarian must check a kitten’s age, weight, and health before choosing a product. Some medicines may not suit a young or small kitten. Never estimate a dose from an adult cat’s label or share another pet’s medication.
Keep the treatment directions where you can find them, especially if more than one person cares for the kitten. A written schedule can help you give each dose on time. Bring the kitten’s health records to the appointment if you have them.
For other questions about a kitten’s first days and care, browse these pet health guides alongside your veterinarian’s advice.
Follow the full course and recheck as advised
Some cats improve before the prescribed plan ends. Keep following the product schedule even when scratching fades, because eggs and mites may not all be gone. Your veterinarian will tell you whether another dose or exam is needed.
A recheck can help confirm that the ear has healed and that mites or infection are no longer present. Contact the clinic if your cat’s pain or swelling worsens during care. Keep the recheck appointment if your veterinarian recommends one, even if the ears look better.
Conclusion
Ear scratching and dark debris are worth checking, but only an examination can confirm the cause. Mites can look like wax or other ear problems, so avoid guessing with drops or home treatments. A safe plan starts with the right diagnosis and clear directions for your cat.
Follow the treatment instructions for every pet your veterinarian identifies as exposed. If you are unsure whether a change is expected, call the clinic before changing the plan. Contact your veterinarian to arrange an ear examination before putting medication or a home remedy in your cat’s ear.